
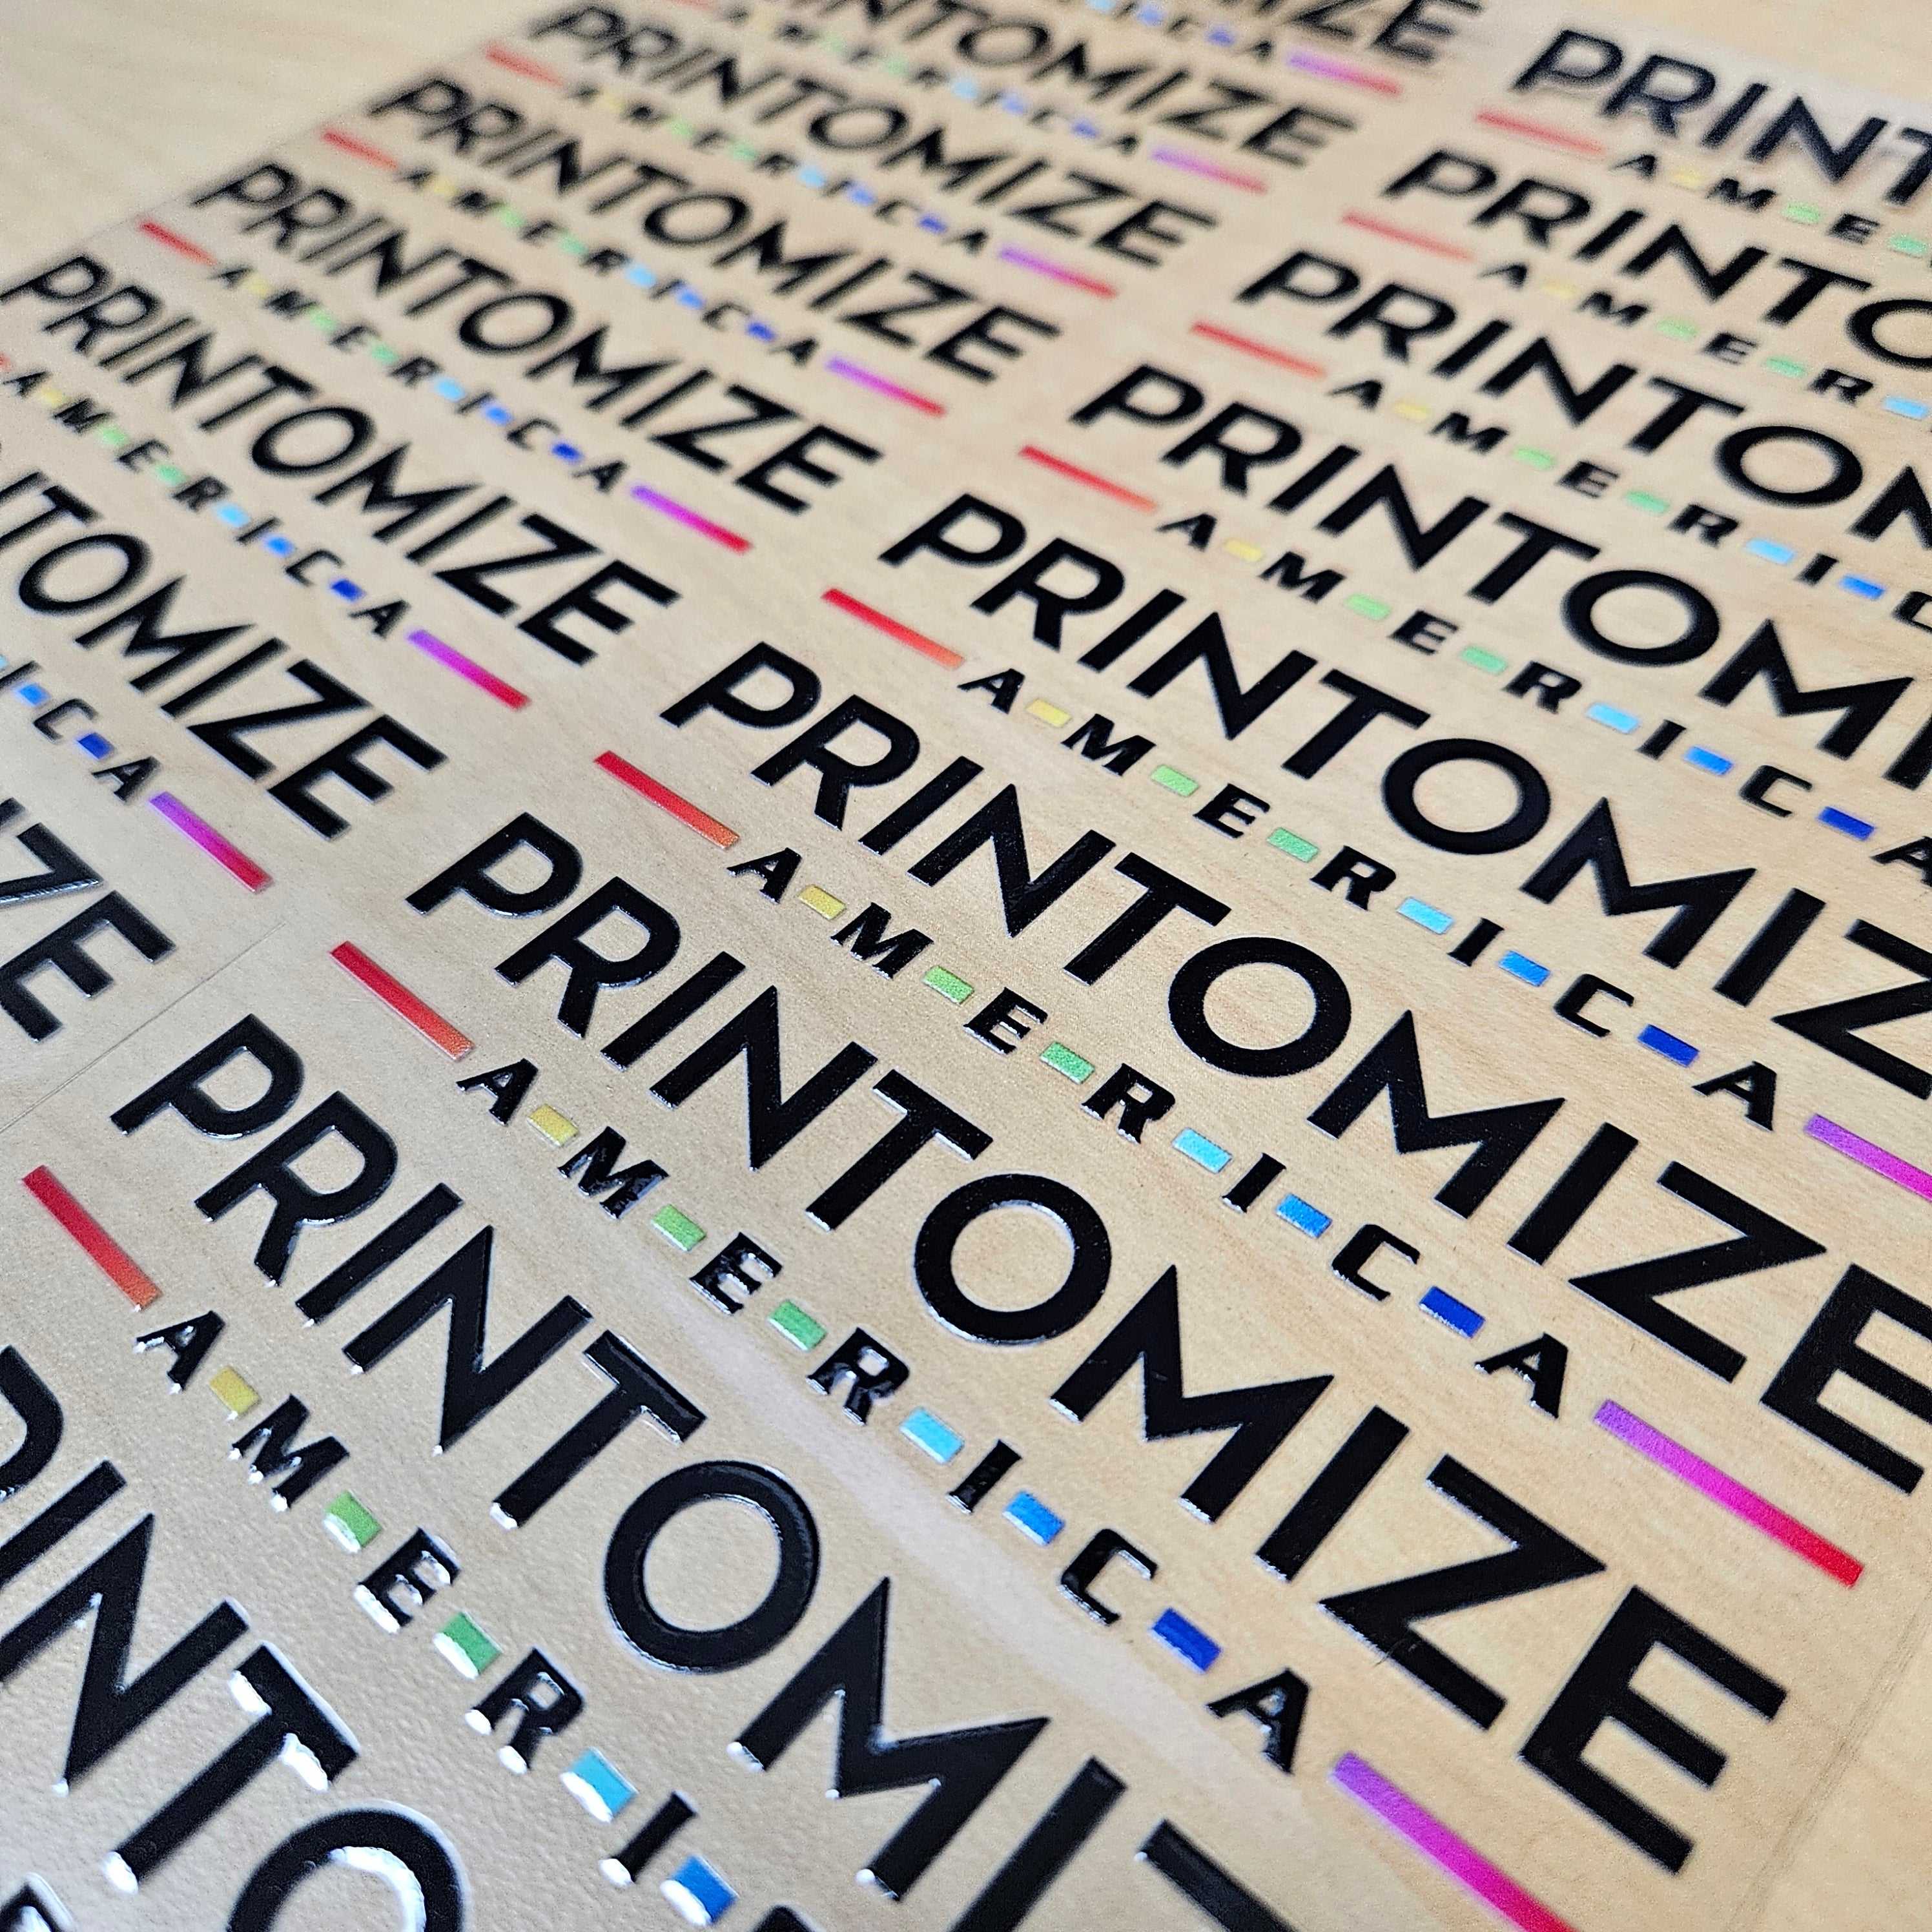
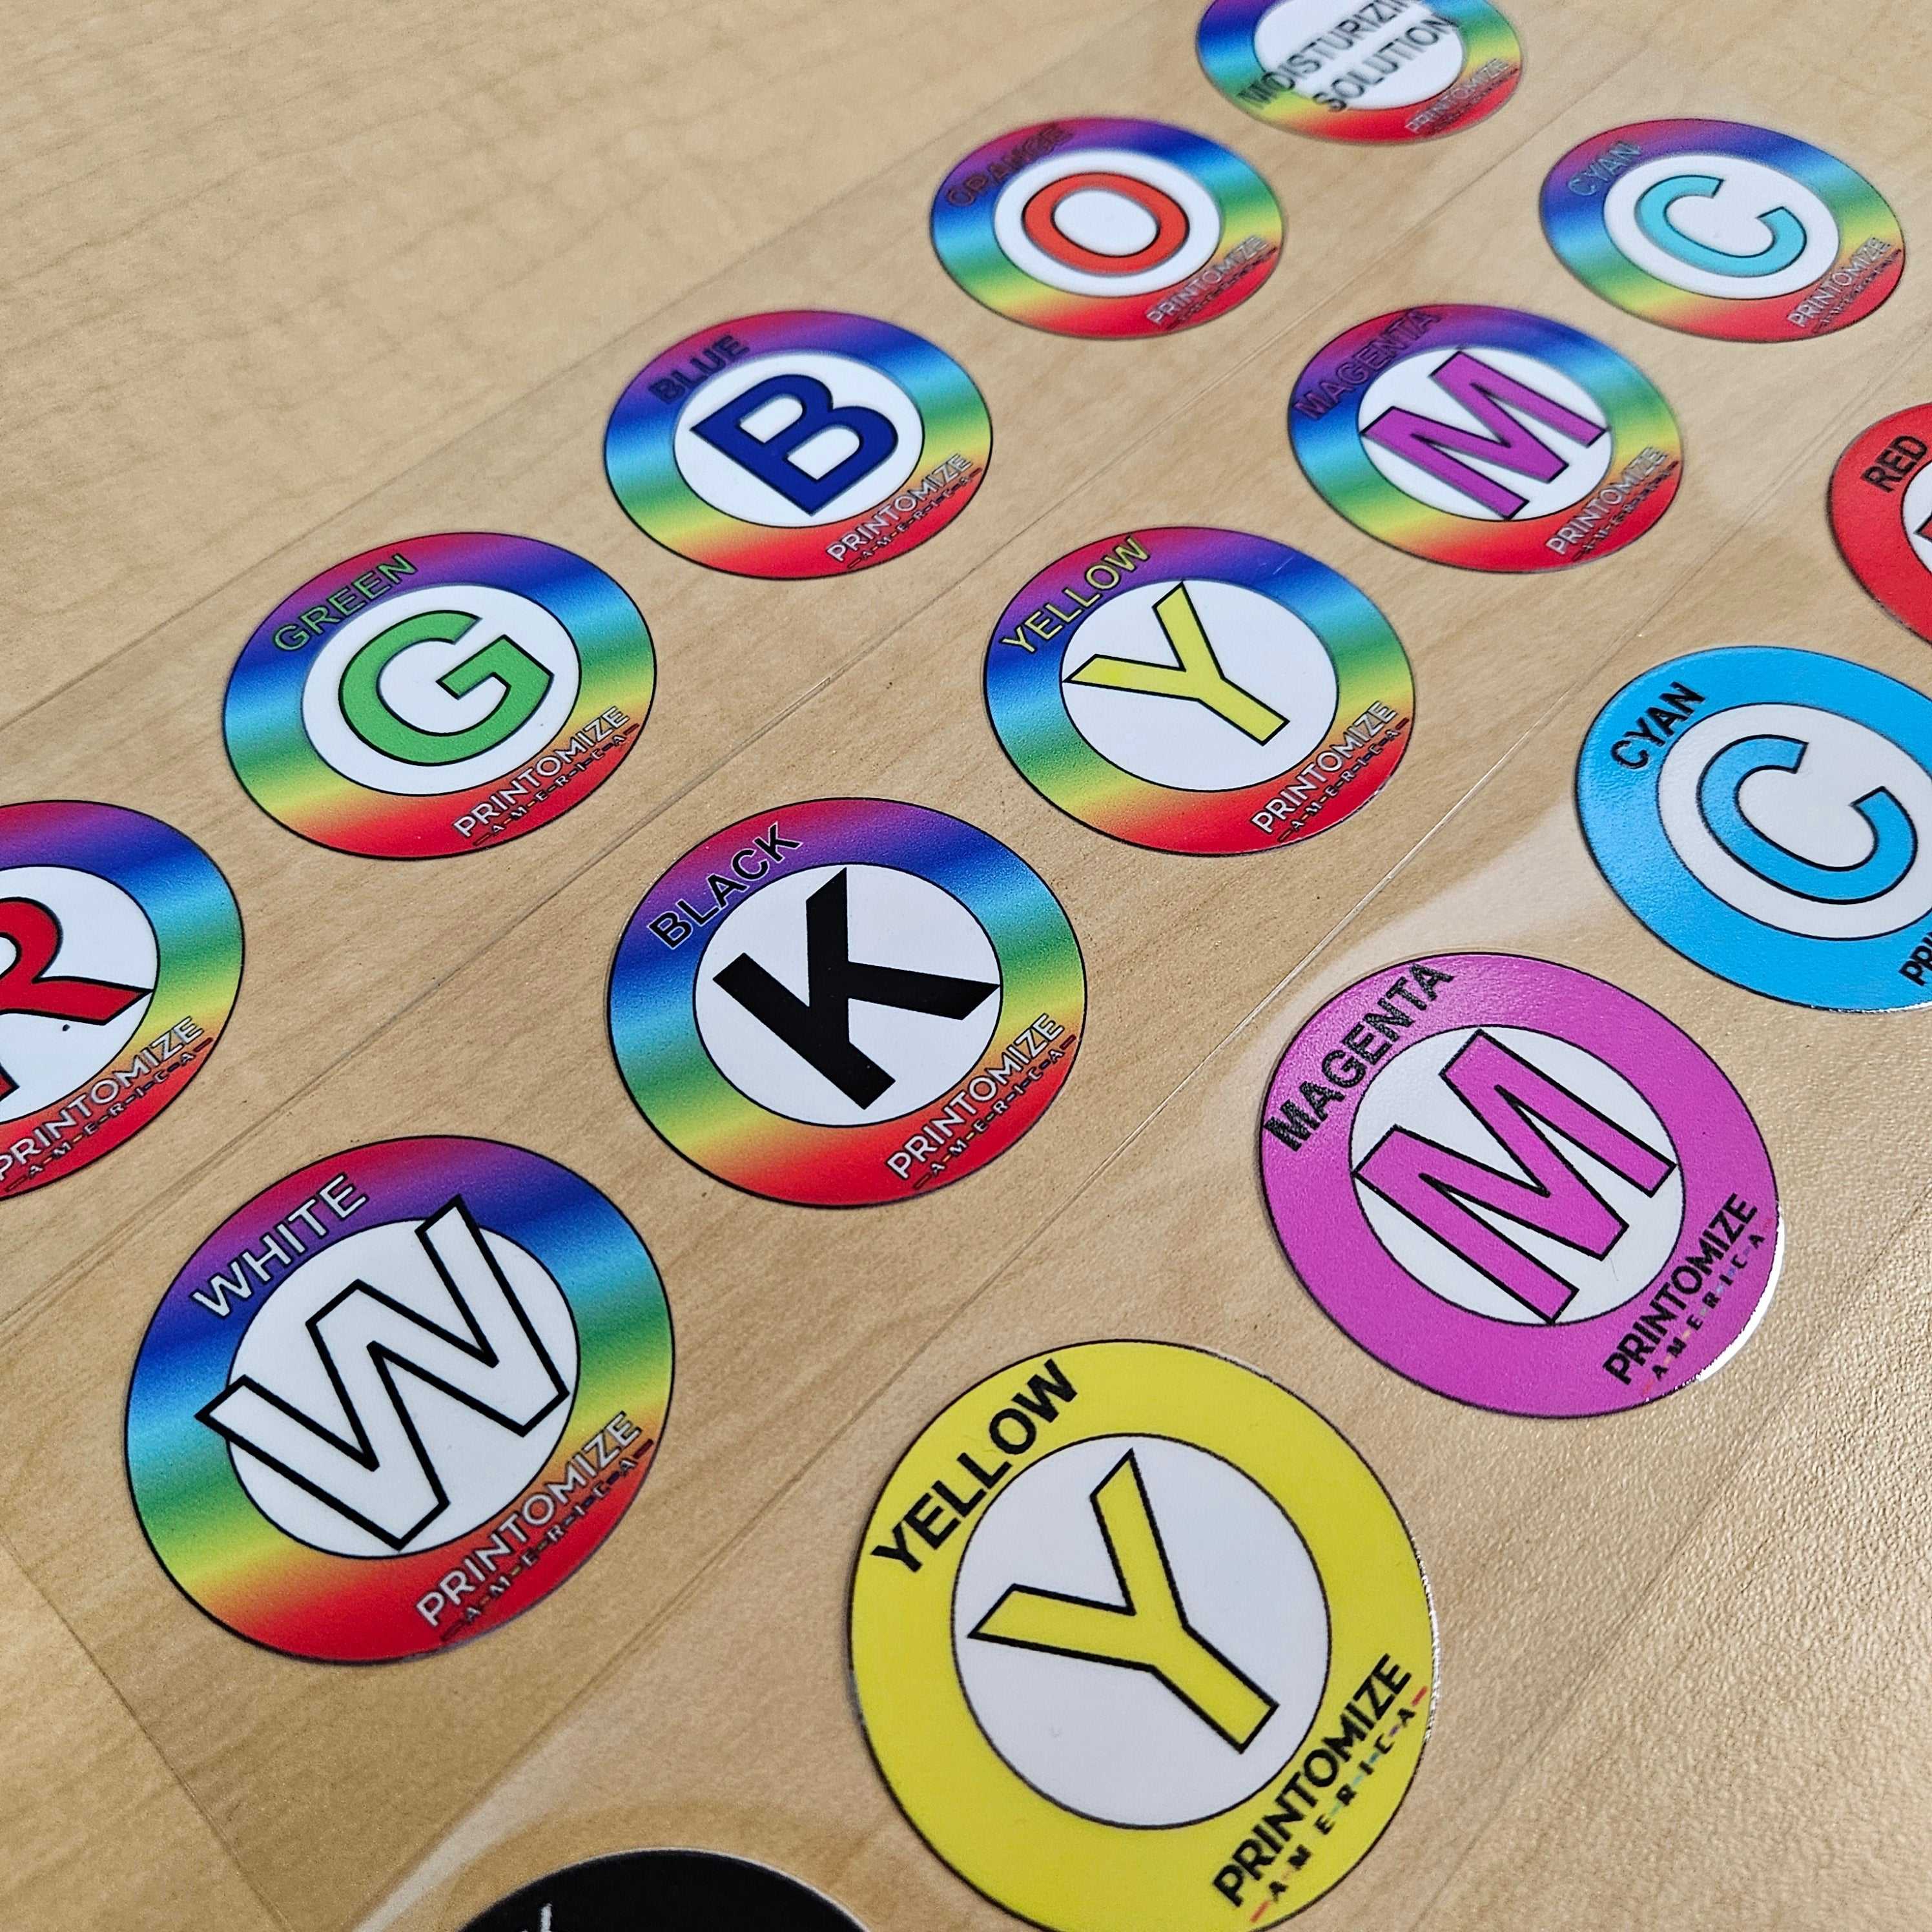
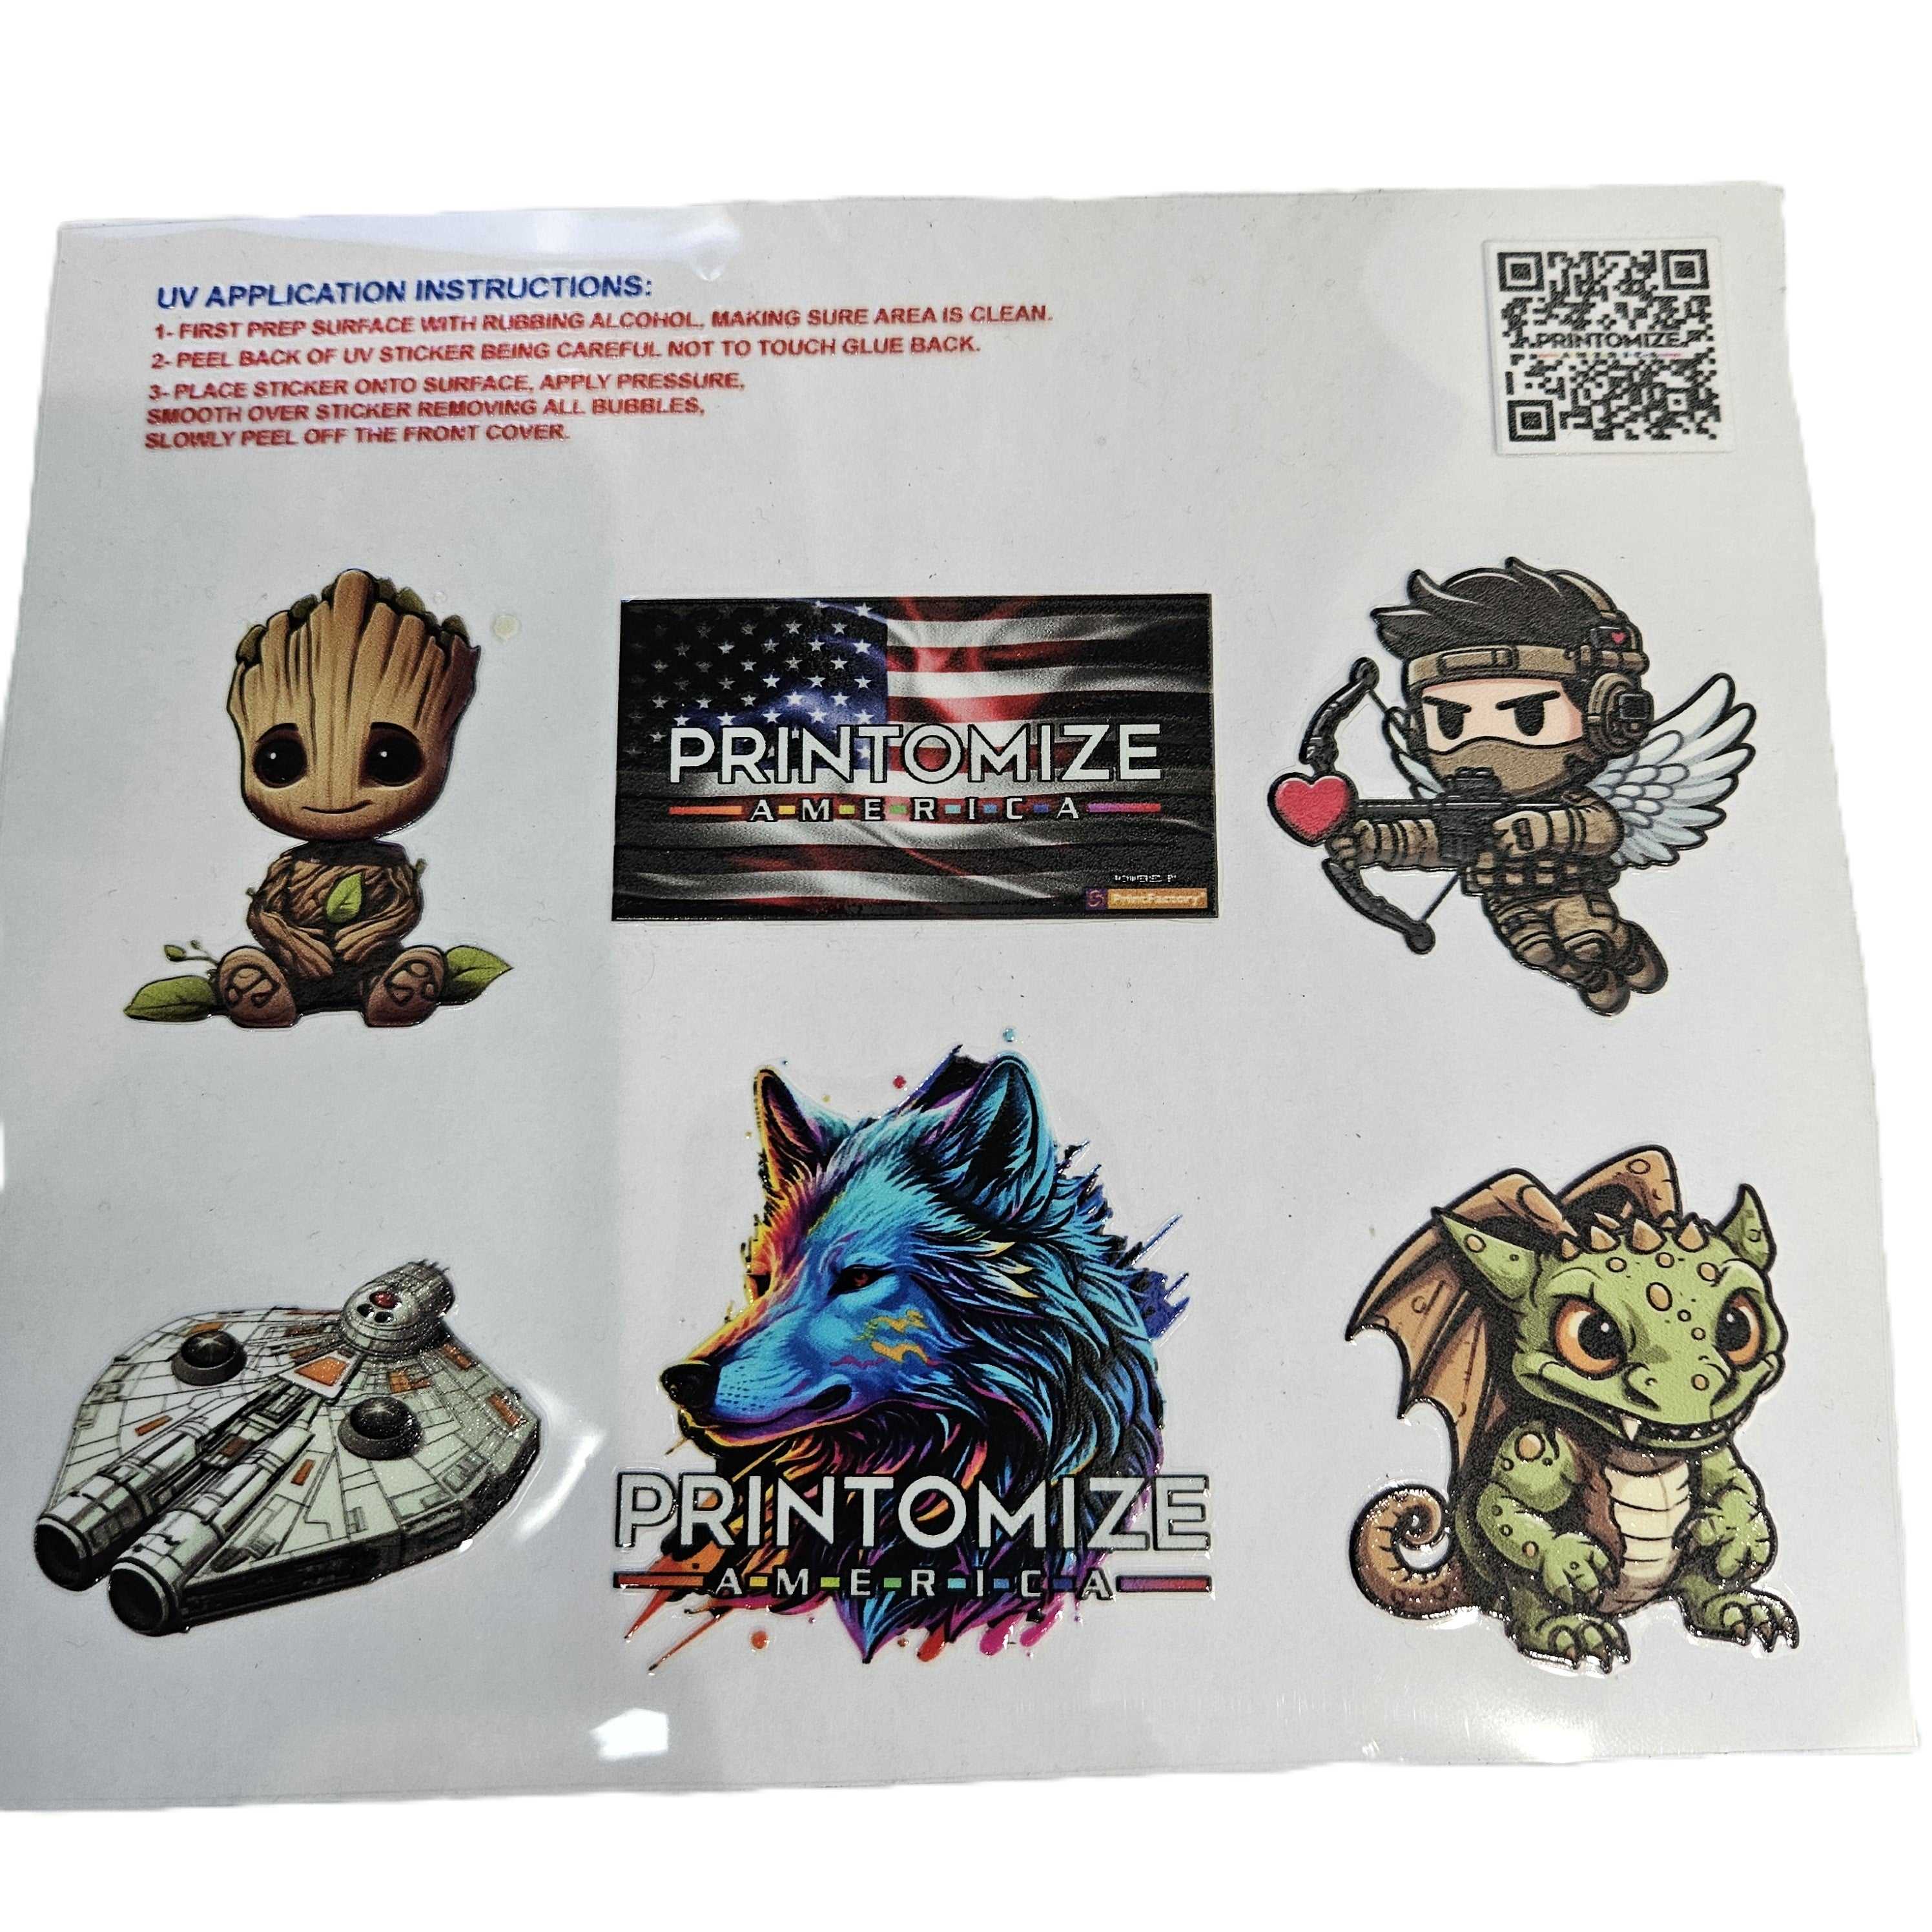
UV DTF Transfers
Size:22 in x 6 in
Quantity:
Pickup available at Printomize America
Usually ready in 24 hours
UV DTF Transfers
22 in x 6 in
Printomize America
Pickup available, usually ready in 24 hours
20505 Earl Street
Torrance CA 90503
United States
Choose options
Size:22 in x 6 in
Quantity:
Size:22 in x 6 in
Quantity:
UV DTF Transfers
Artwork requirements
- Gang sheets cannot exceed a maximum width of 22"
- Vector files are preferred. If raster images are provided they must be at the correct size, on a transparent background, and a minimum of 300 dpi
- Preferred file types: PDF, PNG
- Accepted file types: EPS, PNG
- Colors should be in CMYK or Pantone Coated PMS
- RGB files can shift in color when converted to CMYK
- Minimum line thickness must be equal to or greater than 7.5px / 0.25" / 0.6mm
- Your original design needs to be 300dpi at its largest size. Enlarging a 300dpi design from 3 inches to 9 inches will no longer be 300dpi
Note: it is the customer's responsibility that artwork meets all requirements for printing. We print artwork the way it is submitted.
Delivery and shipping
- Standard: orders submitted before 11am PST ship same day. Orders received after 11am PST ship next day.
- Urgent: for urgent same day orders submitted after 11am PST, please call and email to confirm. An additional fee may apply.
Once you have placed your order, email your print-ready files to art@printomize.com.
UV Transfer Application Guide
Follow these step-by-step instructions to apply Printomize America UV transfers for optimal results.
-
Prepare the Surface:
- Clean the surface thoroughly with rubbing alcohol.
- Ensure it is completely dry and free of dust, oil, or moisture.
-
Prep the Transfer Sheet:
- Place the UV transfer on the carrier sheet.
- Smooth it gently with a squeegee or flat tool, starting from the center outward to remove air bubbles.
-
Cut the Transfer:
- Cut around the design, leaving a small margin to make peeling easier.
-
Expose the Adhesive:
- Carefully peel back the protective film from the adhesive side.
- Avoid touching the sticky surface to maintain adhesion.
-
Apply the Transfer:
- Position the sticker onto the desired surface.
- Press evenly with fingers, a squeegee, or a soft cloth to remove all air bubbles.
-
Remove the Front Cover:
- Slowly peel off the front protective cover at a low angle.
- Ensure the transfer adheres fully and smoothly to the surface.
Tip: For best results, handle transfers carefully and apply even pressure to avoid bubbles or peeling.