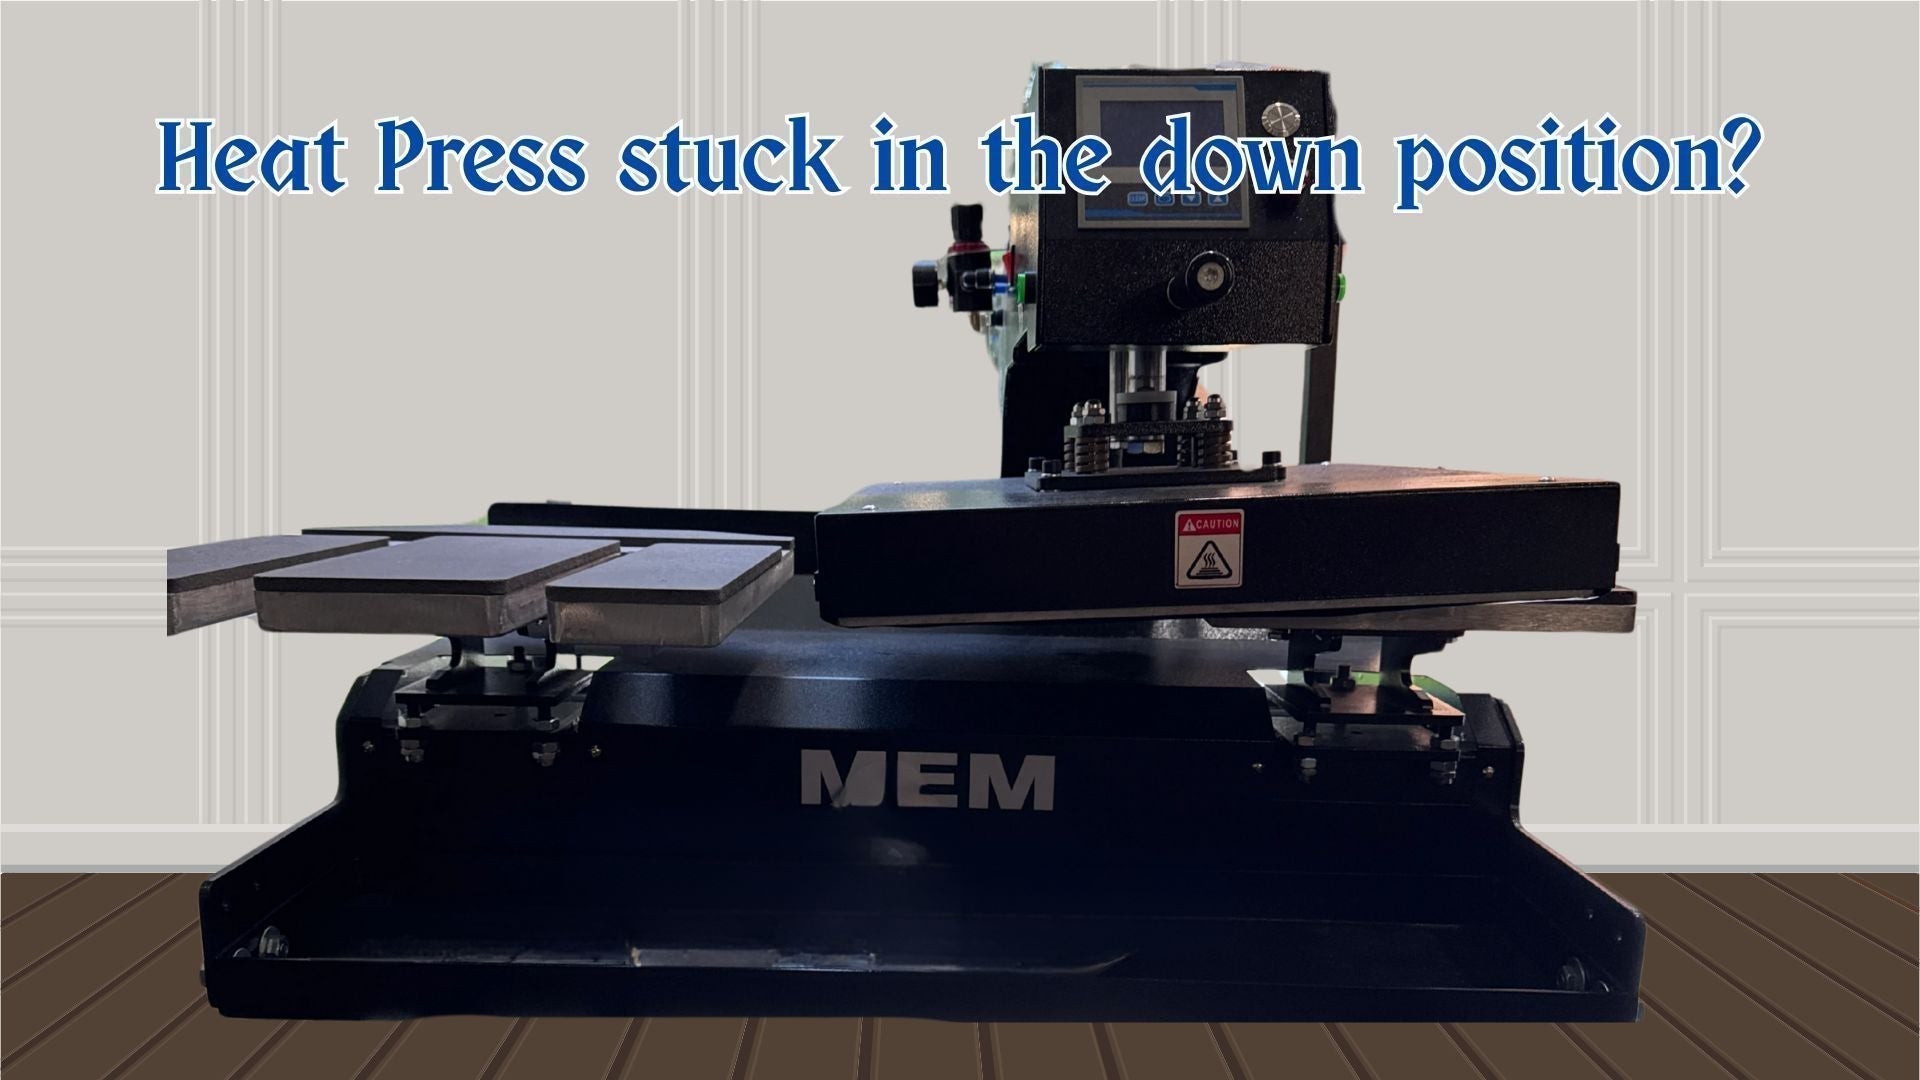
🛠 How to Replace the Piston on an MEM TQA-4050 Heat Press (Step-by-Step Guide)
If your MEM TQA-4050 heat press has started hissing air from the piston, and swapping the solenoid didn’t solve the problem, you’re most likely dealing with a worn or leaking piston seal. Over time, internal seals can dry out, crack, or become damaged—allowing compressed air to escape continuously and causing major performance issues.
This step-by-step tutorial walks you through how to identify the fault and replace the piston properly. The process is similar on most MEM TQA-series pneumatic heat presses, so these instructions apply across a range of models.
🔍 Common Symptoms of a Faulty Heat Press Piston
A failing piston usually makes itself known long before the press stops working entirely. Look for these signs:
- Loud, constant hissing sound coming from the top of the machine
- Replacing the solenoid valve does not stop the air leak
- The press still operates, but pressure fluctuates
- The lid lifts unevenly, too slowly, or drops too quickly
- Overall heat press performance gradually deteriorates
If you hear a continuous air leak from the top—even with the solenoid replaced—your piston is the prime suspect.
💡 Why the Piston Fails
Inside the piston are several rubber and polyurethane seals that keep compressed air contained as the cylinder extends and retracts. With heavy daily use, heat exposure, and moisture from your air lines, these seals can:
- Dry out
- Crack
- Become misaligned
- Wear through
Once that happens, the system can no longer hold air pressure, which results in constant hissing and weaker pressing force.
🧰 Step-by-Step: How to Replace the Piston on an MEM TQA-4050
⚠️ Safety First: Disconnect the machine from power and shut off the air supply before beginning any repair.
1. Remove the Upper Heat Platen Assembly
- Lift the press lid.
- Support it with a locking arm or a second person.
- Remove the mounting bolts that secure the upper platen housing to the piston assembly.
2. Disconnect the Air Lines
- Locate the two pneumatic lines attached to the piston.
- Mark or photograph their positions so you reconnect them correctly.
- Press the quick-release collars and pull the lines free.
3. Unbolt the Piston From the Frame
- Remove the cylinder mounting bolts at the top and bottom.
- Carefully slide the piston out of the machine.
4. Install the New Piston
- Position the new cylinder in place of the old one.
- Reinstall the top and bottom mounting bolts.
- Make sure the piston shaft aligns properly with the upper platen bracket.
5. Reconnect Air Lines
- Push the pneumatic tubes back into their fittings until they click.
- Double-check there are no kinks or loose lines.
6. Reassemble the Upper Platen
- Reattach the housing and tighten all bolts securely.
- Ensure everything sits level before testing.
7. Test for Leaks and Function
- Turn the air supply back on.
- Listen for any hissing.
- Cycle the press open and closed several times.
- Confirm that pressure is consistent and the lid moves smoothly.
🎉 After the Repair: What to Expect
Once the piston is replaced, your heat press should:
- Hold pressure consistently
- Operate more quietly
- Open and close smoothly
- Stop leaking air entirely
If you still hear hissing afterward, the issue could be:
- A damaged air fitting
- Cracked tubing
- A second air leak in the solenoid or manifold
- Contaminated air lines